How to Keep Microphone Noise Out of a Computer Audio Recording
If a Windows playback recording picked up your voice or room noise, use two short takes to find the source before you record again.
Download Freemore Audio RecorderWindows installer · Download and setup details
Did the slideshow contain the noise?
You recorded audio from a slideshow you made, but the export also contains your voice from the room. You want to find out whether the noise came from the mic or was already in the slideshow.
Record two takes with different inputs
- Keep the first take and connect headphones. Play the same ten seconds of your slideshow for each test. While it plays, say a short test phrase you know is absent from the slideshow.
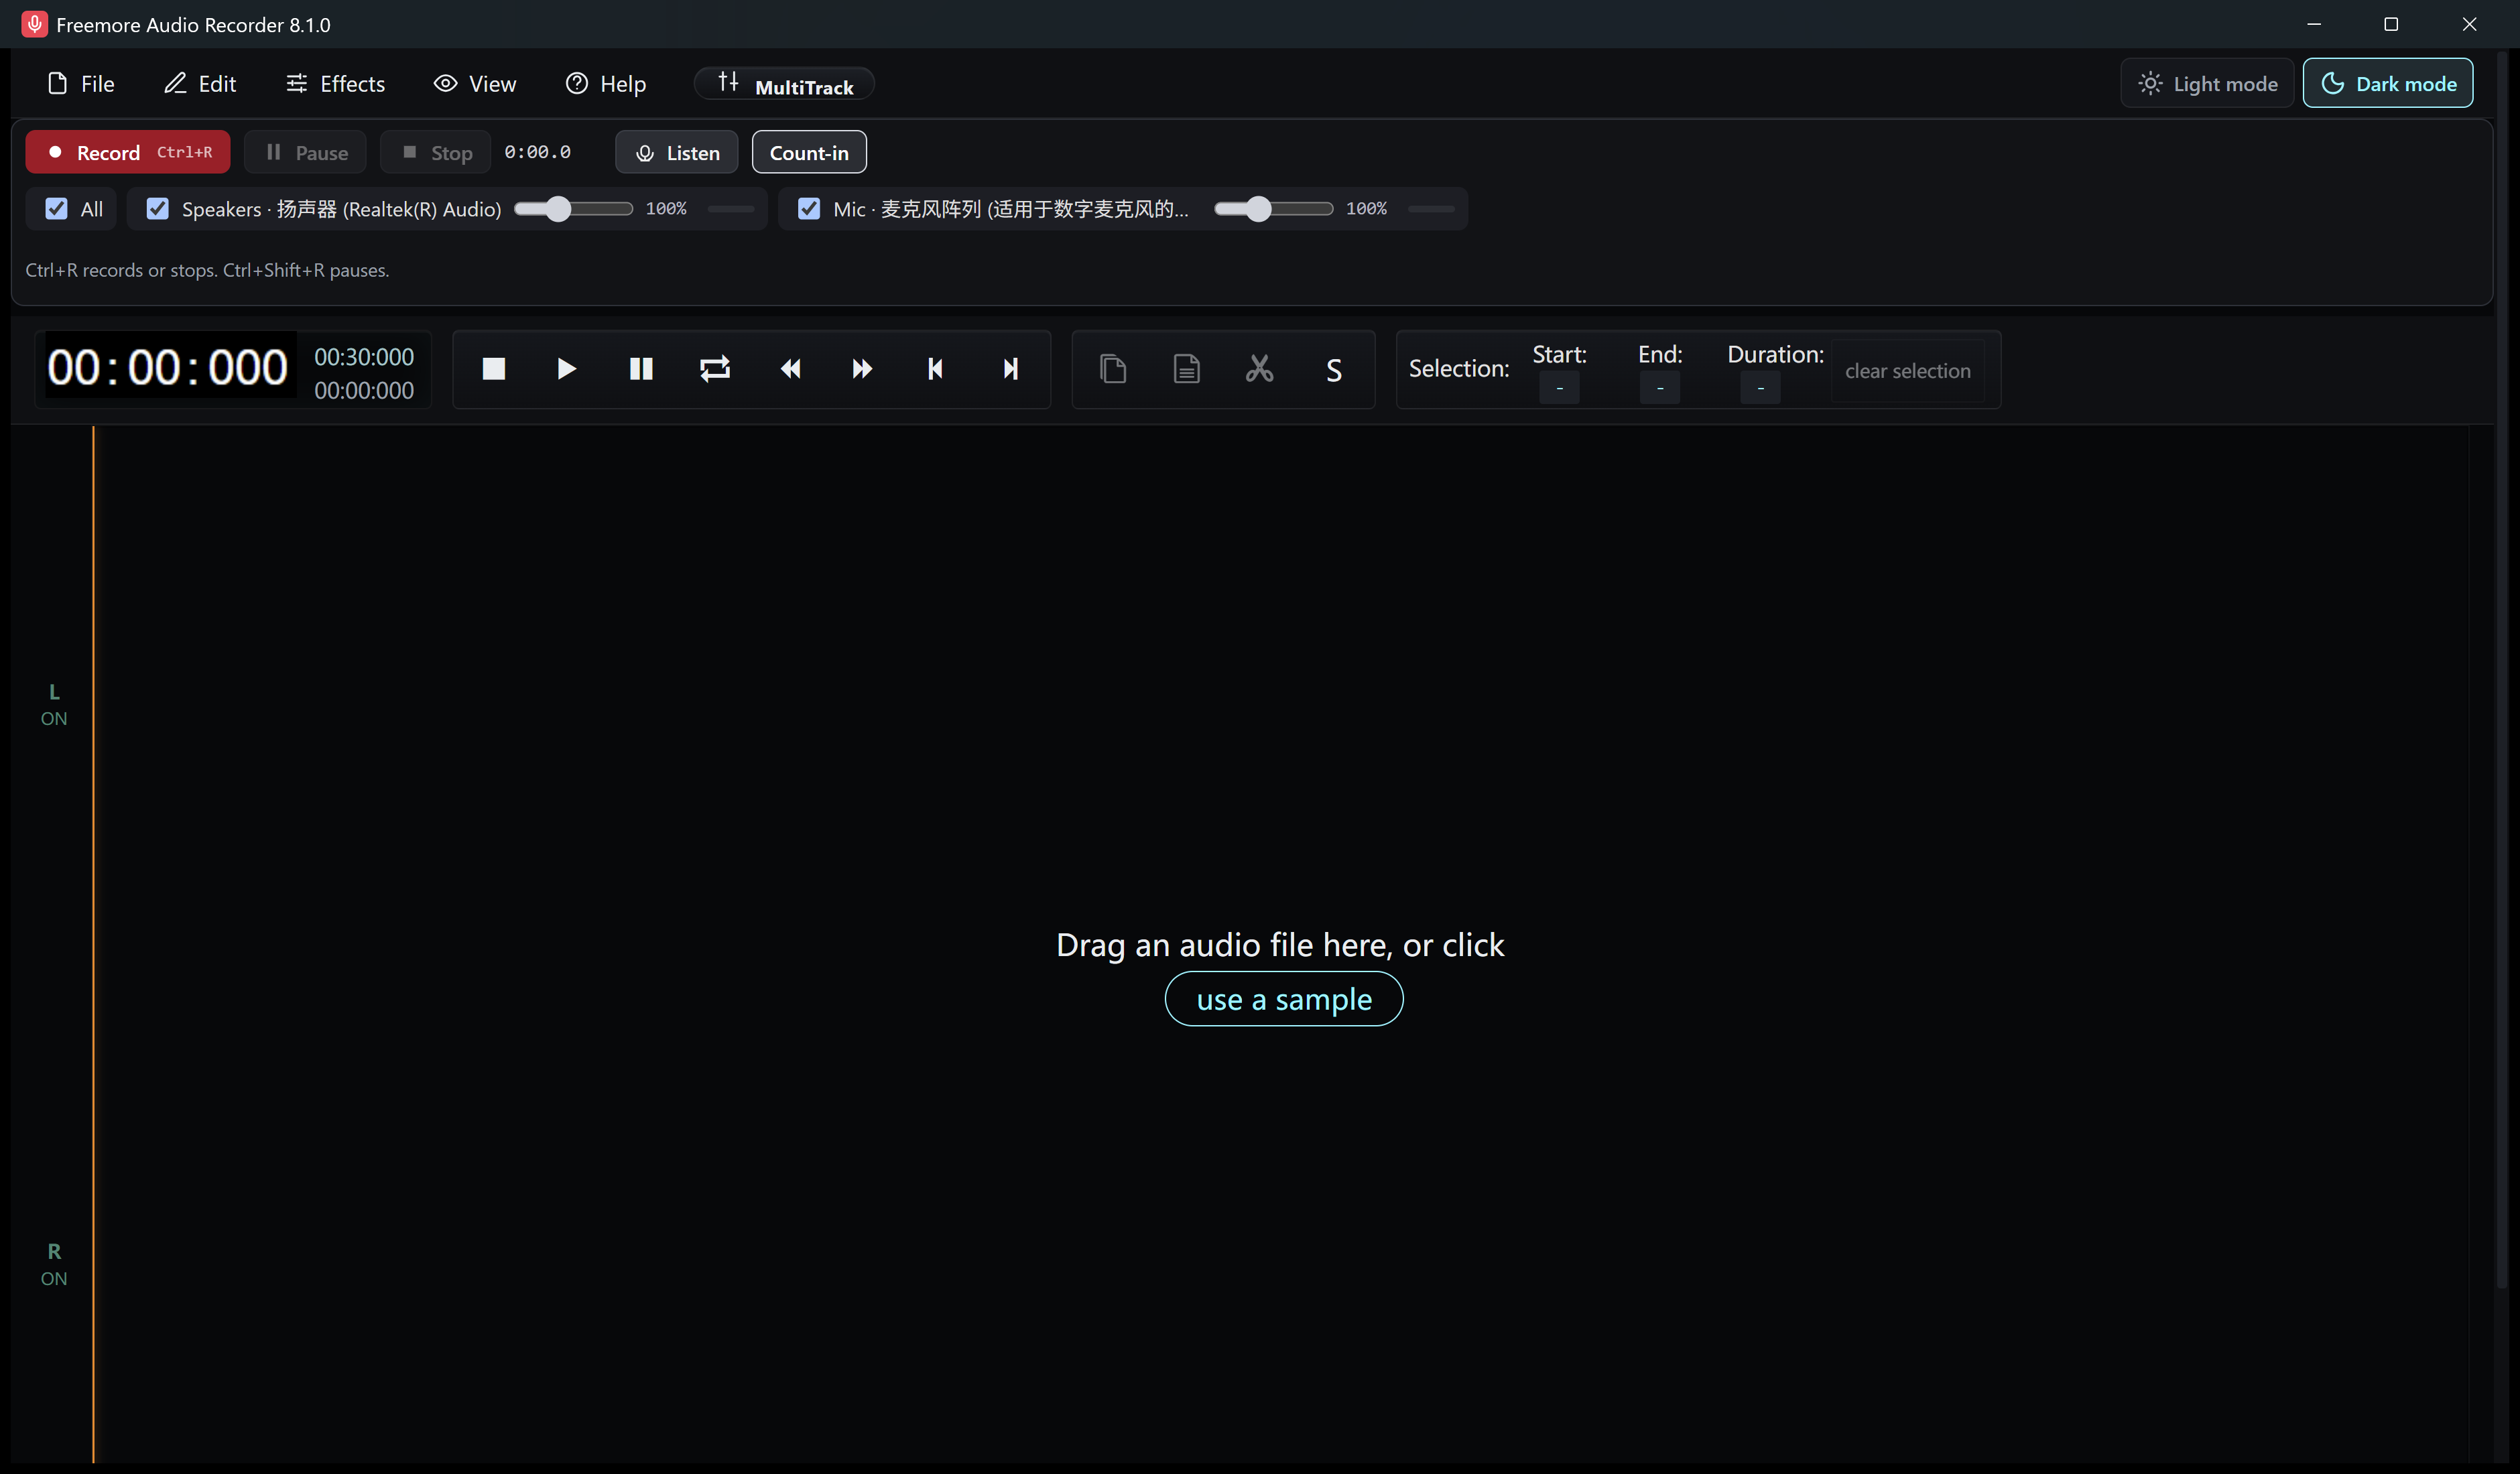
- In Freemore Audio Recorder, record one test with Speakers and Mic selected. Stop, then solo each resulting track and listen for the phrase. If it is on the Mic track only, you have identified the source.
- Leave only the active Speakers endpoint selected and repeat the test. If playback is audible and the test phrase is absent, record the full slideshow with that selection. If you still have the original separate tracks, mute its Mic track and export again to see whether that saves a retake.
When the voice is on the Speakers track
If room sound or the test phrase appears on the Speakers track, check whether another app is playing your microphone back into Windows. If the slideshow itself contains the noise, a playback-only recording will still include it. Listen to the export before sharing it.